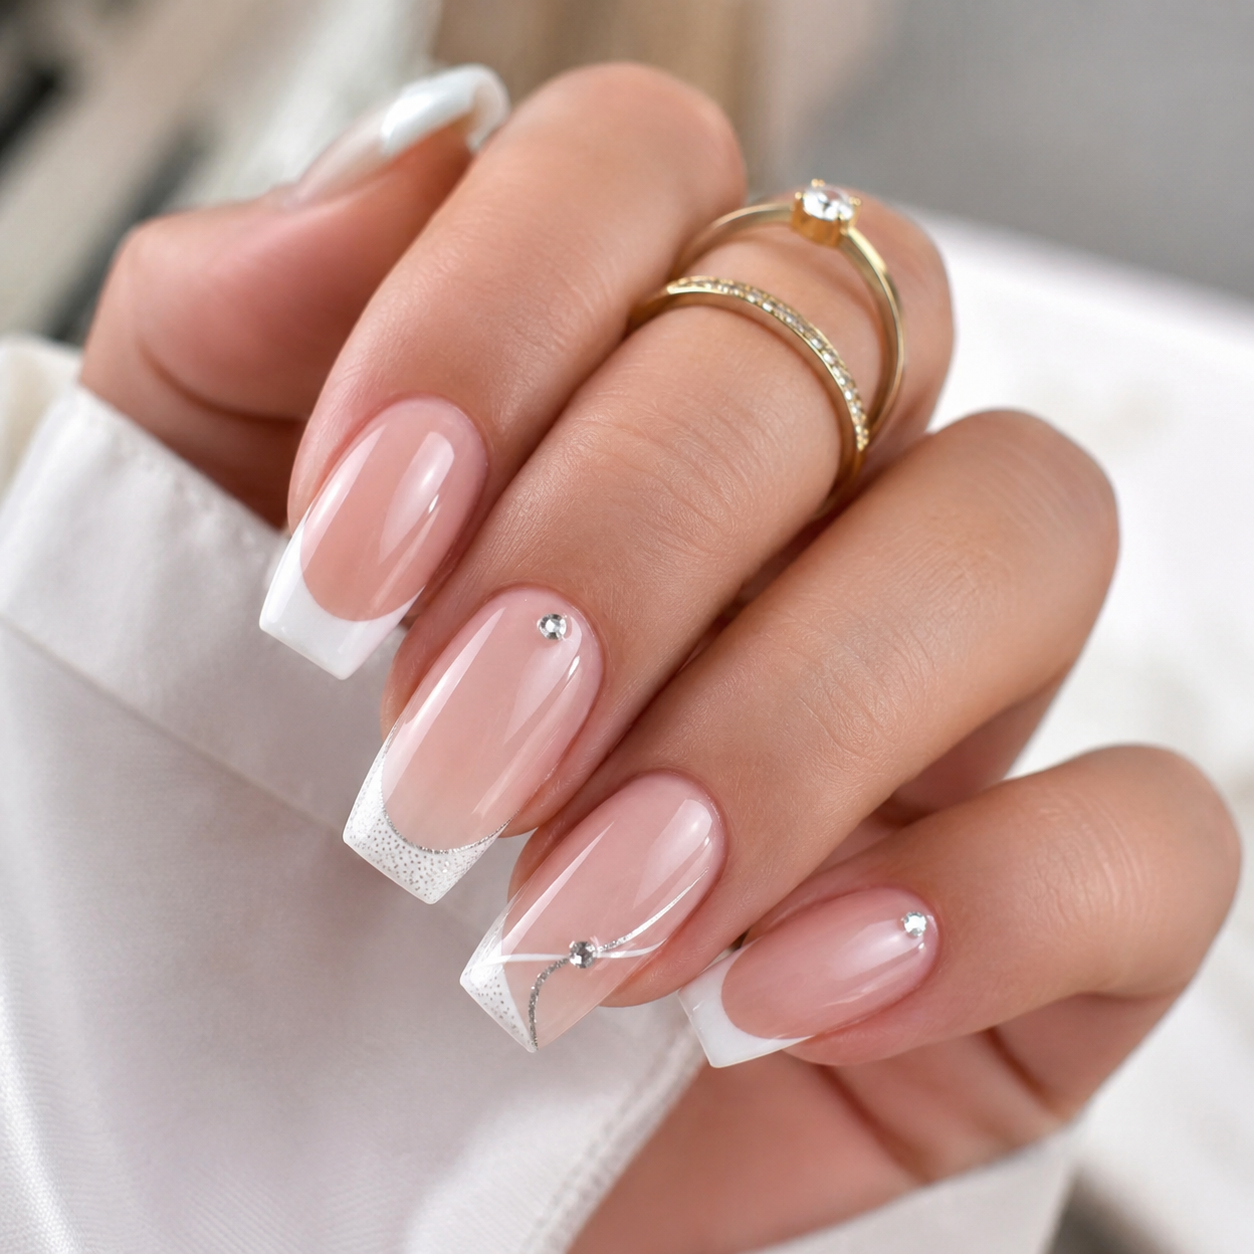
Nail art has become one of the most popular beauty trends in recent years. You no longer need to visit an expensive salon to enjoy beautiful, stylish nails. With a few basic tools, a little creativity, and some patience, anyone can create stunning nail art at home. Whether you prefer simple minimalist designs or colorful, eye-catching patterns, DIY nail art is an affordable and enjoyable way to express your personality.
In this guide, you’ll learn everything you need to know about doing nail art at home, including essential tools, easy techniques, popular designs, and expert tips for long-lasting results.
Why Try Nail Art at Home?
Creating nail art at home offers many advantages beyond saving money. It allows you to experiment with different styles whenever you want and gives you complete control over your nail designs.
Some benefits include:
Saves money on salon visits
Encourages creativity
Easy to customize for any occasion
Relaxing and enjoyable hobby
Practice improves your skills over time
With countless tutorials and inspiration available online, beginners can quickly learn professional-looking techniques.
Essential Nail Art Tools
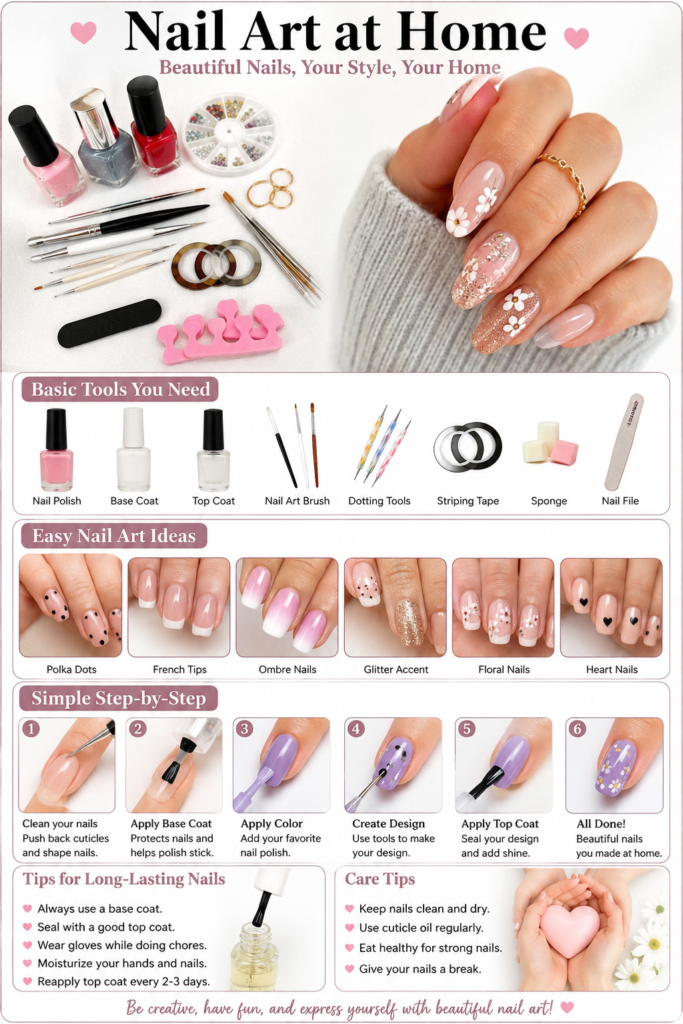
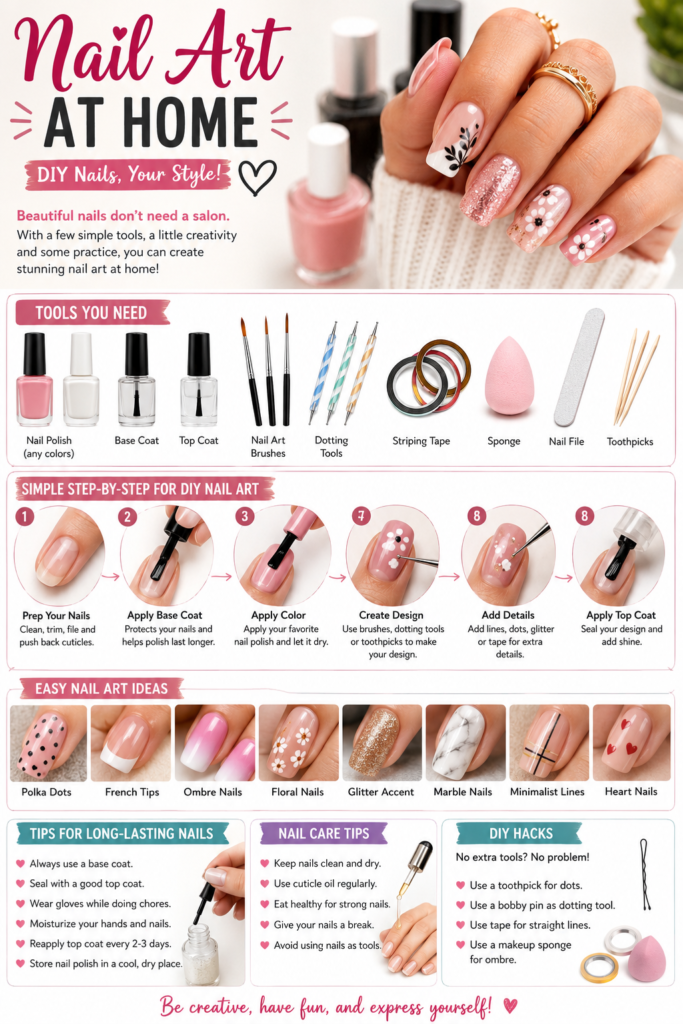
Before starting your DIY manicure, gather a few basic supplies.
Nail Polish
Choose several colors to create different designs. It’s helpful to have:
Nude shades
White polish
Black polish
Red polish
Pink polish
Glitter polish
Metallic polish
Base Coat
A base coat protects your natural nails and helps polish last longer.
Top Coat
A quality top coat seals your design, adds shine, and prevents chipping.
Nail Art Brushes
Thin brushes help create lines, flowers, swirls, and detailed artwork.
Dotting Tools
Dotting tools make perfect circles for flowers, polka dots, and cute patterns.
Nail Tape
Striping tape helps create straight geometric lines.
Makeup Sponge
Useful for gradient or ombre nail designs.
Toothpicks
A simple alternative for creating dots and fine details if you don’t own nail art tools.
Nail Polish Remover
Always keep remover and cotton pads nearby to clean mistakes.
Preparing Your Nails
Proper preparation makes your manicure last much longer.
Follow these simple steps:
Remove old nail polish.
Wash your hands.
Trim and file nails evenly.
Push back cuticles gently.
Buff nail surfaces lightly.
Apply cuticle oil.
Wipe nails with remover to remove oils.
Apply a thin base coat.
Now your nails are ready for decorating.
Easy Nail Art Ideas for Beginners
Polka Dot Nails
One of the easiest designs.
Simply paint your nails with a base color, allow it to dry, then use a dotting tool or toothpick to add colorful dots.
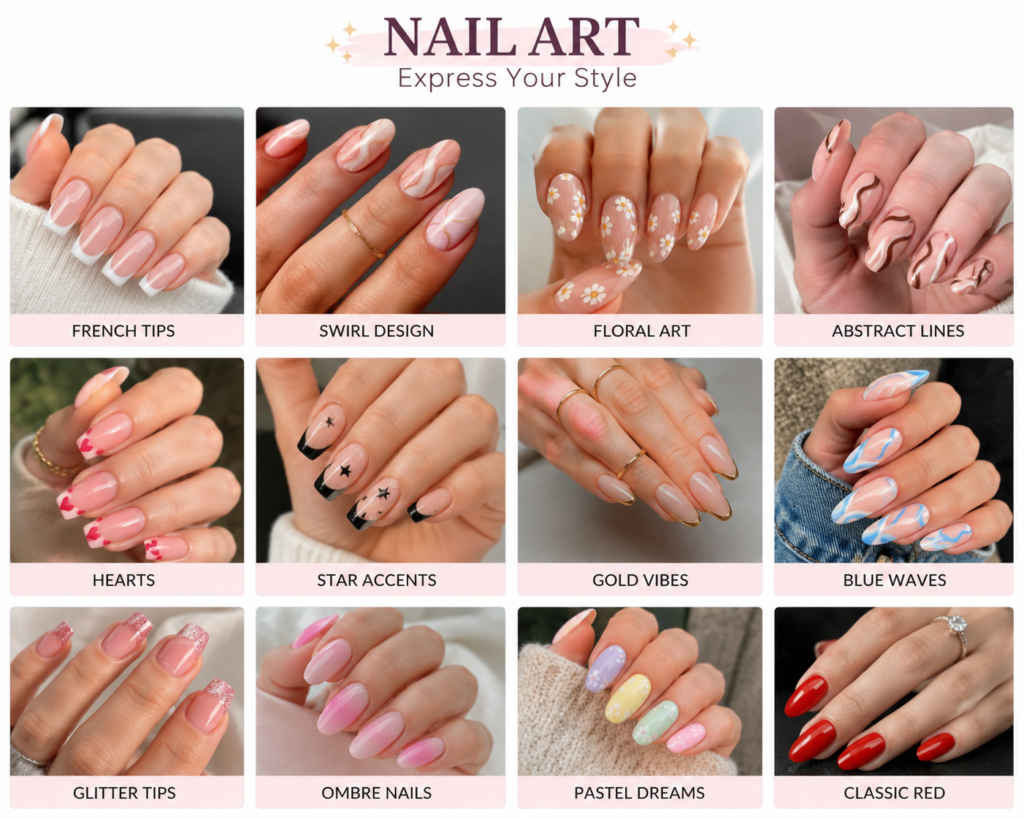
French Tips
Classic French nails never go out of style.
Instead of traditional white tips, try:
Gold tips
Pink tips
Rainbow tips
Glitter tips
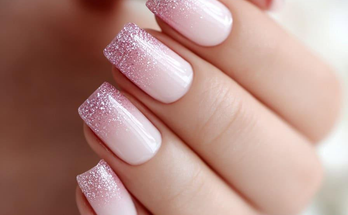
Ombre Nails
Blend two polish colors together using a makeup sponge.
Popular color combinations include:
Pink and white
Blue and purple
Nude and peach
Black and silver
Glitter Accent Nails
Paint all nails one color and apply glitter polish on one or two accent nails.
This simple style looks elegant and festive.
Heart Nails
Perfect for Valentine’s Day or romantic occasions.
Use a dotting tool to create two dots, then drag them downward into a heart shape.
Floral Nail Art
Tiny flowers can be made with five dots surrounding one center dot.
Add green leaves for extra detail.
Trending Nail Art Designs
Fashion trends change every season, but these styles remain popular.
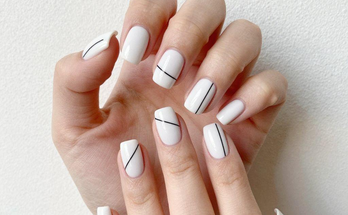
Minimalist Nails
Simple lines, dots, and neutral colors create a clean, elegant appearance.
Marble Nails
Use white, gray, and black polish to imitate natural marble.
Chrome Nails
Chrome powders create a shiny metallic finish that looks luxurious.
Abstract Art
Random curves, shapes, and colorful patterns make every nail unique.
Pastel Nails
Soft pastel shades are perfect for spring and summer.
Popular colors include:
Lavender
Baby blue
Mint green
Peach
Soft yellow
Animal Prints
Leopard, zebra, and cow print designs continue to trend on social media.
Nail Art for Different Occasions
Everyday Wear
Choose subtle nude colors with tiny dots or delicate lines.
Office Style
Keep designs professional with neutral shades and minimalist artwork.
Wedding Nails
Brides often choose:
French manicure
Pearl accents
Lace-inspired patterns
Soft glitter
White floral designs
Party Nails
Experiment with:
Metallic polish
Rhinestones
Holographic glitter
Bright colors
Holiday Nails
Celebrate holidays with themed designs like:
Snowflakes
Christmas trees
Pumpkins
Hearts
Fireworks
Common Beginner Mistakes
Avoid these common errors.
Applying Thick Polish
Thin coats dry faster and look smoother.
Skipping Base Coat
Without a base coat, nails may stain and polish chips more quickly.
Not Waiting Between Layers
Allow each layer to dry before adding another.
Using Old Polish
Thick, dried polish creates uneven results.
Ignoring Cuticle Care
Healthy cuticles improve the overall appearance of your manicure.
Tips for Long-Lasting Nail Art
Want your manicure to last longer?
Follow these professional tips:
Always use a base coat.
Seal designs with a quality top coat.
Wear gloves while washing dishes.
Apply cuticle oil daily.
Avoid using nails as tools.
Reapply top coat every two to three days.
Store nail polish away from direct sunlight.
Budget-Friendly Nail Art Hacks
You don’t need expensive equipment.
Household items work surprisingly well:
Toothpick for dots
Bobby pin as a dotting tool
Tape for straight lines
Sponge for ombre effects
Thin paintbrush for details
These inexpensive alternatives are perfect for beginners.
Caring for Your Nails
Beautiful nail art starts with healthy nails.
Maintain nail health by:
Moisturizing hands regularly
Drinking plenty of water
Eating foods rich in biotin
Taking breaks between manicures
Avoiding harsh chemicals
Using nourishing cuticle oil
Healthy nails provide the perfect canvas for creative designs.
Conclusion
Nail art at home is a fun, affordable, and rewarding way to enhance your personal style. With just a few basic tools and some practice, you can create salon-quality designs from the comfort of your home. From simple polka dots and elegant French tips to trendy ombre and marble effects, there is a nail art style for every personality and occasion.
The key to beautiful DIY nailsis patience, creativity, and consistent practice. Start with easy designs, improve your techniques over time, and don’t be afraid to experiment with new colors and patterns. With the right preparation and proper nail care, your at-home nail art can look professional, last longer, and become a relaxing part of your beauty routine.