Cute nail designs are a fun and creative way to express your personal style without spending money at a professional nail salon. Whether you love soft pastel colors, minimalist patterns, tiny flowers, or playful heart designs, you can create beautiful nail art at home with just a few basic tools. The best part is that you do not need to be an expert to achieve stylish results.
If you are looking for cute nail designs you can do yourself, this guide will help you discover easy nail art ideas, learn simple techniques, and create a beautiful manicure from the comfort of your home.
Why Try DIY Nail Art at Home?
DIY nail art is an affordable way to experiment with different colors, patterns, and styles. You can change your manicure whenever you want and customize each design to match your outfit, mood, or occasion.
Creating your own nail designs also allows you to practice new skills at your own pace. You can start with simple dots and stripes before moving on to more detailed floral patterns or geometric designs.
With a little patience and creativity, even beginners can create attractive nail art using ordinary nail polish and household-friendly tools.
- Simple Polka Dot Nail Designs
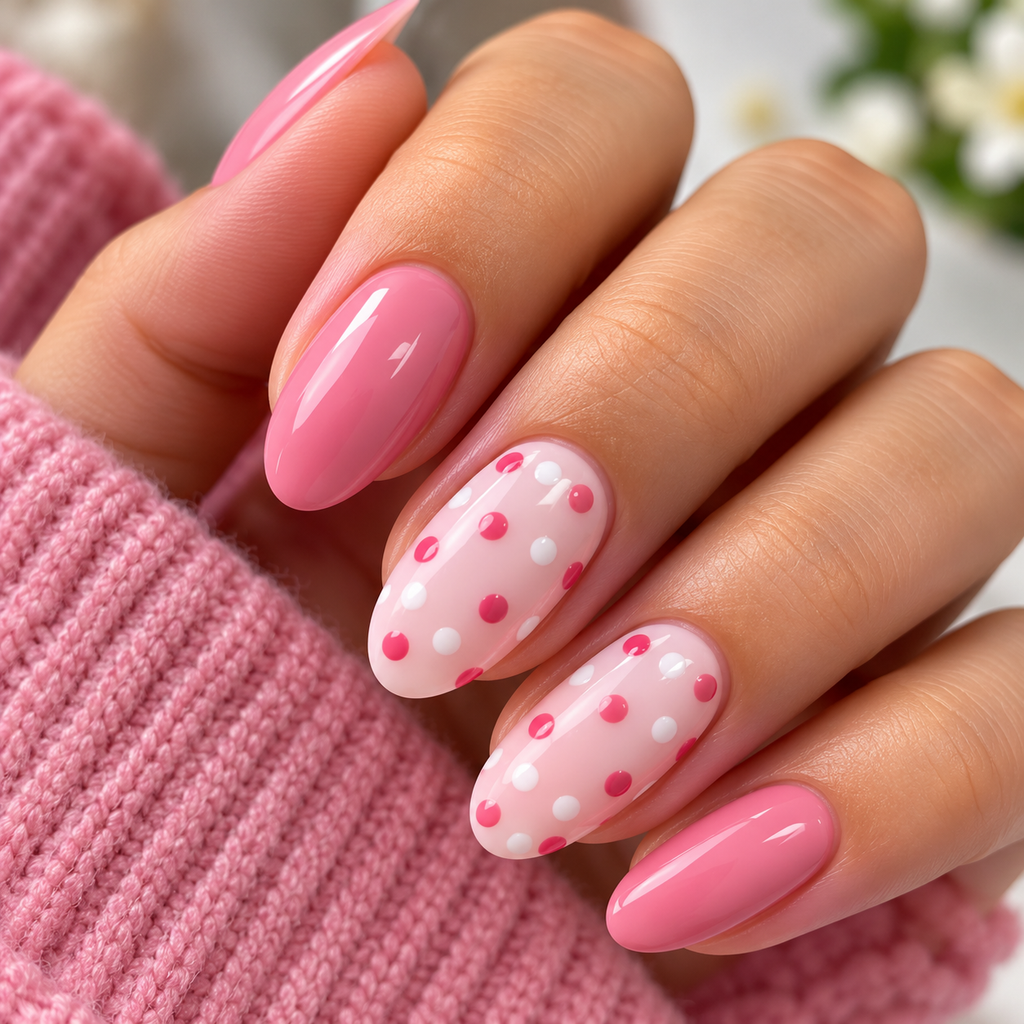
Polka dot nails are among the easiest and cutest nail designs to create at home. This timeless style works beautifully on both short and long nails.
Start by applying a base coat in your favorite color, such as baby pink, white, lavender, or nude. Once the polish dries, use a dotting tool, toothpick, or the rounded end of a bobby pin to create small dots in a contrasting color.
You can place dots across the entire nail or arrange them in a neat line near the cuticle. For a playful appearance, use different colors on each nail.
Best color combinations: White and pink, black and nude, lavender and white, or pastel blue and yellow.
- Cute Heart Nail Art
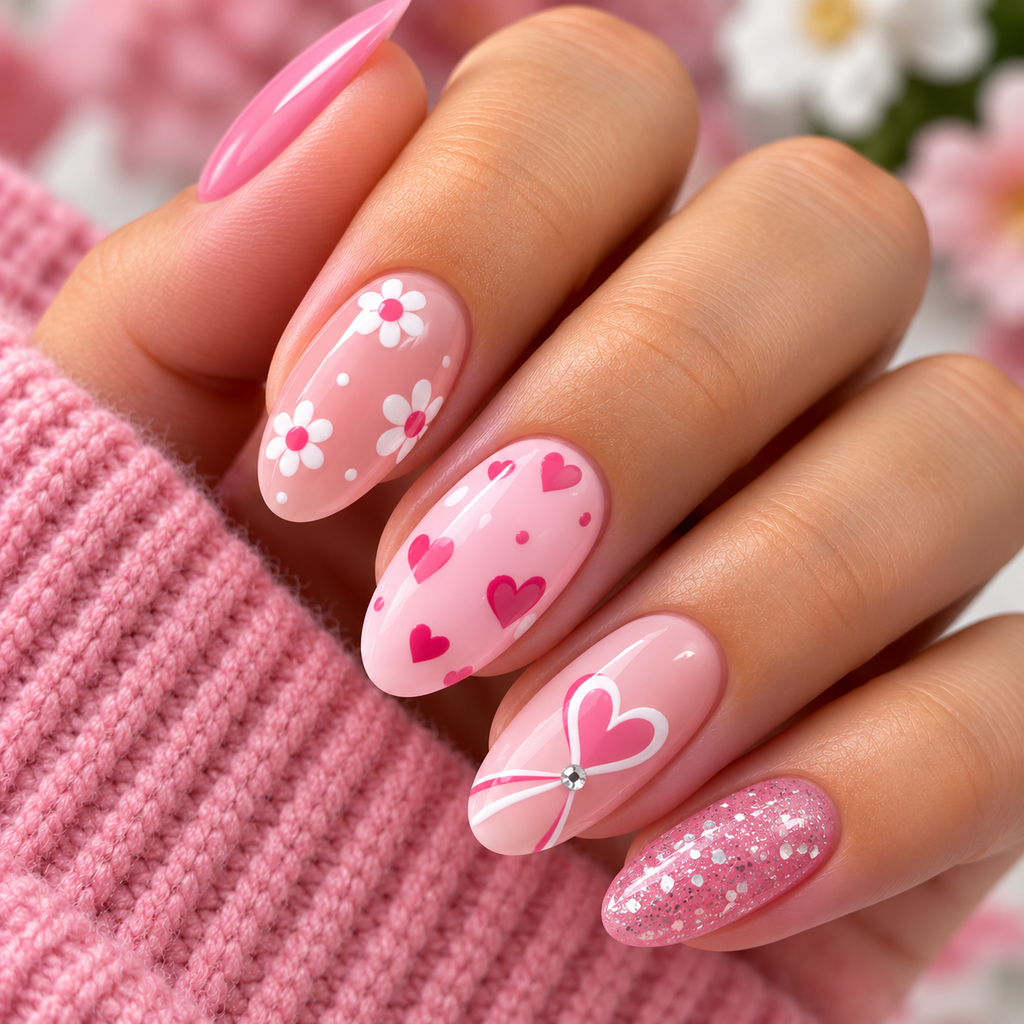
Heart nail designs are perfect for romantic occasions, everyday wear, or anyone who loves feminine nail art.
Apply a light-colored base coat and allow it to dry completely. Use a fine nail art brush or a toothpick to place two small dots of red or pink polish next to each other. Gently connect the dots and draw them down into a point to form a heart.
You can create one tiny heart on each nail or decorate only your ring fingers for a subtle accent. For a modern look, try red hearts over a sheer nude or milky white base.
This design looks especially beautiful on short, rounded nails because the small details create a delicate finish.
- Easy French Tip Nails
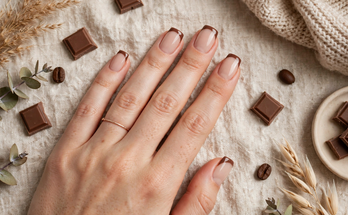
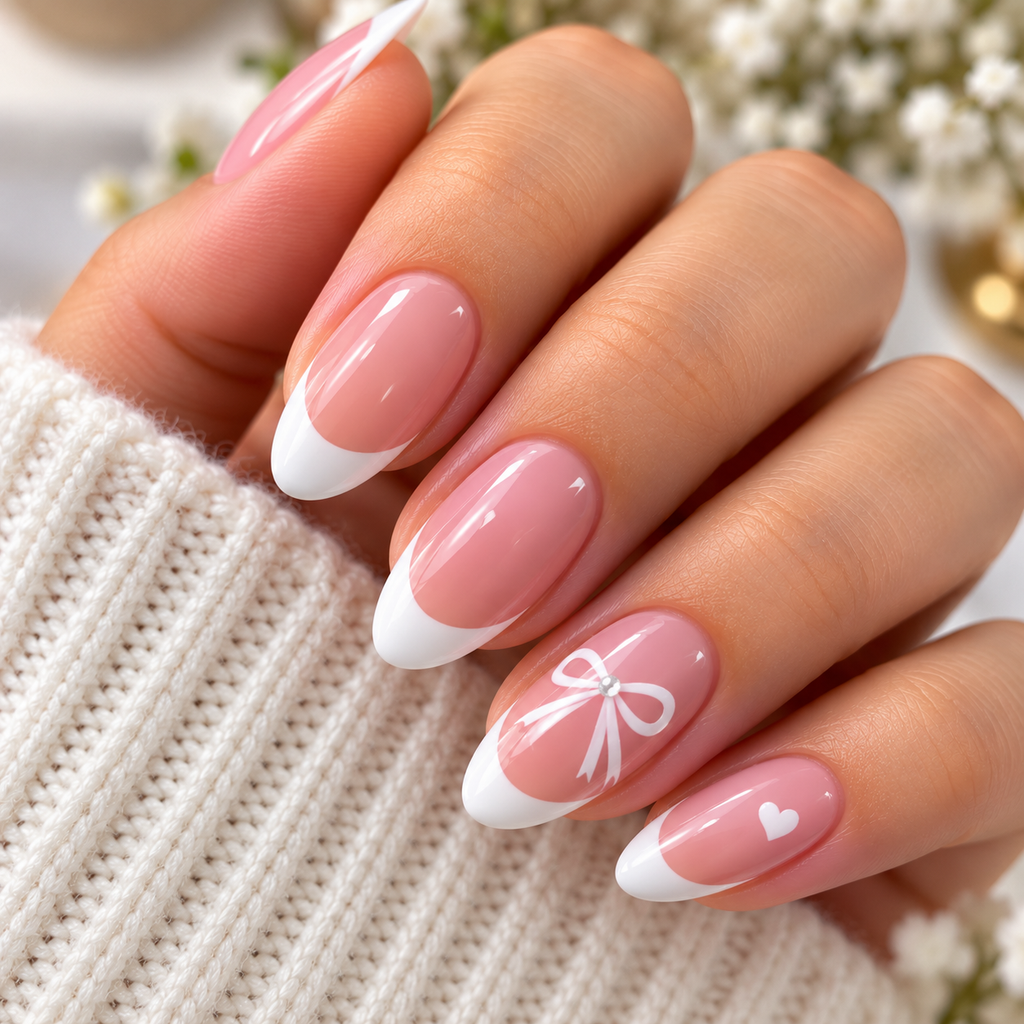
French tip nails are a classic choice that never goes out of style. While traditional French manicures feature white tips and a nude base, modern versions include colorful and pastel tips.
Begin with a sheer pink or nude base coat. After it dries, carefully paint a thin line along the tip of each nail using white, pink, blue, or another favorite shade.
If you find it difficult to paint straight lines, use French manicure guides or small pieces of nail tape. Remove the guides gently after the polish has started to set.
For a cute twist, try alternating pastel colors across your fingertips or adding tiny dots just below the tips.
- Minimalist Flower Nail Designs
Floral nail art is a lovely way to create a fresh and cheerful manicure. Fortunately, tiny flowers are easier to paint than they look.
Choose a light base color such as cream, pale pink, or soft blue. Use a dotting tool to place five small dots in a circle, then add a contrasting dot in the center to complete each flower.
You can create a single flower near the tip of your nail or add several small blossoms for a garden-inspired appearance.
Pastel flowers look particularly attractive during spring and summer, while white flowers over a nude base create an elegant design suitable for any season.
- Colorful Rainbow Nails
Rainbow nail art is ideal for anyone who enjoys bright colors and playful designs. You can create a full rainbow on one nail or use a different color on each finger.
Apply a neutral base coat first. Then use a thin brush to draw small curved lines in different colors. If detailed rainbow patterns seem difficult, simply paint each nail a different pastel shade.
A pastel rainbow manicure creates a soft, cute appearance, while brighter shades produce a bold and energetic look.
This design works well for holidays, festivals, vacations, and casual weekends.
- Cute Daisy Nails
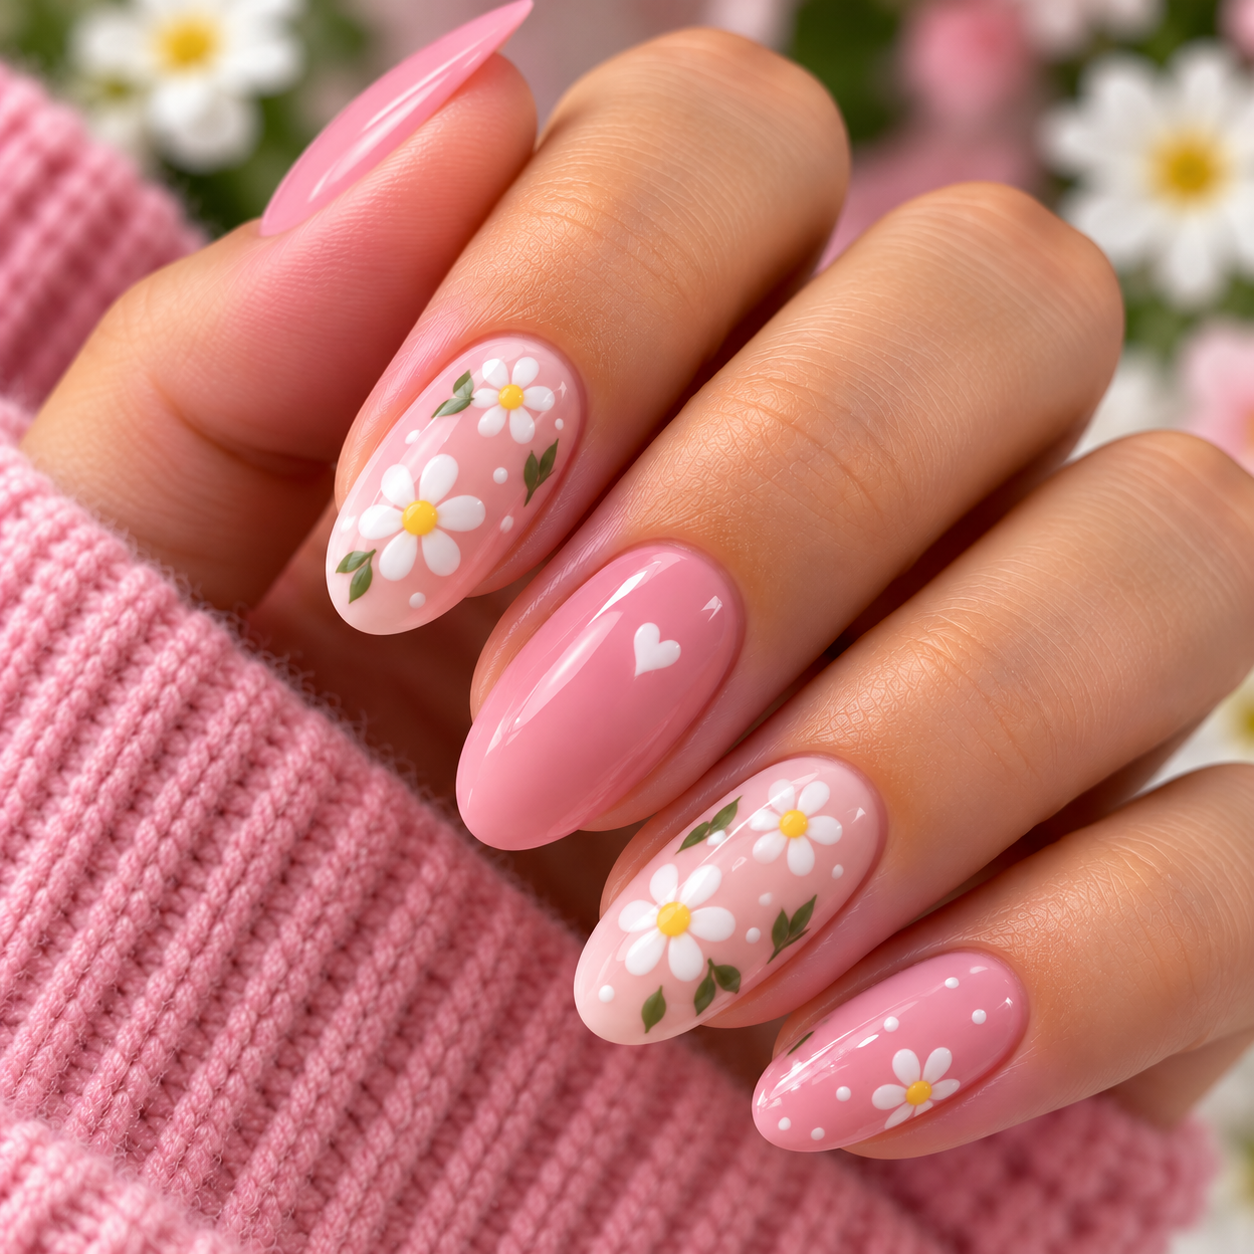
Daisy nails are another beginner-friendly option that looks beautiful without requiring advanced nail art skills.
Apply a pale pink, nude, or light blue base color. Use white polish to create five or six small petals around a yellow center. Repeat the pattern on one or two nails, or decorate every nail with tiny daisies.
For an elegant finish, leave plenty of empty space around the flowers. This makes the design look clean rather than overcrowded.
Daisy nail art pairs beautifully with simple outfits, floral dresses, and soft springtime colors.
- Glitter Accent Nails
If you want a little sparkle without creating complicated patterns, glitter accent nails are an excellent choice.
Paint all your nails in a solid color, such as pink, beige, burgundy, or lavender. Choose one or two nails for glitter polish, or gently apply cosmetic nail glitter over a tacky layer of suitable polish.
You can also create a glitter gradient by concentrating the sparkle near the tips and allowing it to fade toward the center.
Finish with a compatible top coat to smooth the surface and help protect the design. Avoid using craft glitter that is not intended for cosmetic or nail use.
- Cute Smiley Face Nails
Smiley face nail art is a fun option for people who prefer cheerful and modern designs.Start with a white, nude, or pastel yellow base. Once dry, use a dotting tool to create two small eyes and a curved smile with black nail polish.
For a colorful look, paint a different pastel base on each nail. Alternatively, create one smiley face on an accent nail and keep the remaining nails simple.
This design is particularly suitable for short nails because the small pattern does not require much space.
Essential Tools for DIY Nail Art
You do not need an expensive nail art kit to get started. A few basic supplies can help you create many different designs.
Nail polish in your favorite colors
A clear base coat and top coat
A dotting tool or clean bobby pin
A fine nail art brush
Nail polish remover and cotton pads
Nail file and cuticle pusher
Nail tape for clean lines and French tips
Always use clean tools and avoid cutting your cuticles, as this can cause irritation or infection.
Tips for Making Your DIY Nail Designs Last Longer
Beautiful nail art looks even better when it stays neat for several days. Start by cleaning your nails and removing any old polish. Shape your nails with a file and apply a thin base coat before adding color.
Allow each layer to dry before applying the next one. Thick coats often take longer to dry and can smudge more easily. When your design is complete, seal it with a suitable top coat and gently cover the free edge of each nail.
Wear gloves when washing dishes or using household cleaning products. Avoid picking at your polish, and remove it gently when it begins to chip.
If you experience redness, itching, swelling, or other signs of irritation, stop using the product and seek appropriate medical advice.
Final Thoughts
Cute nail designs you can do yourself are an easy and enjoyable way to refresh your appearance without visiting a salon. From simple polka dots and tiny hearts to colorful French tips, daisy flowers, and glitter accents, there are countless styles to explore at home.
Start with one or two simple patterns and practice until you feel comfortable experimenting with more detailed designs. Remember that your manicure does not need to be perfect to look beautiful. Choose colors you love, keep your designs clean, and enjoy the creative process.
With basic tools and a little patience, you can create attractive DIY nail art for everyday wear, special occasions, and every season of the year.