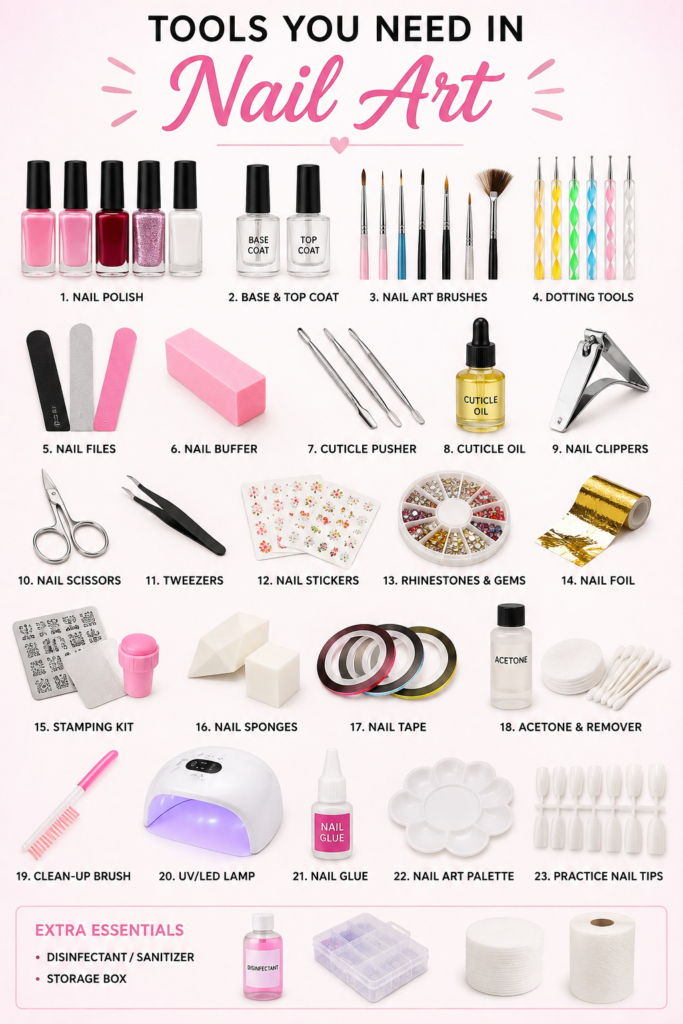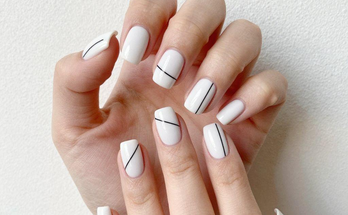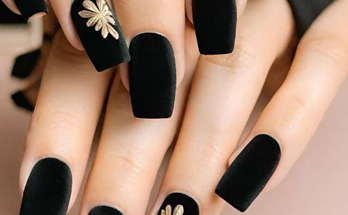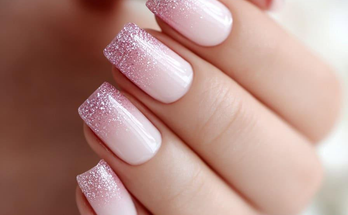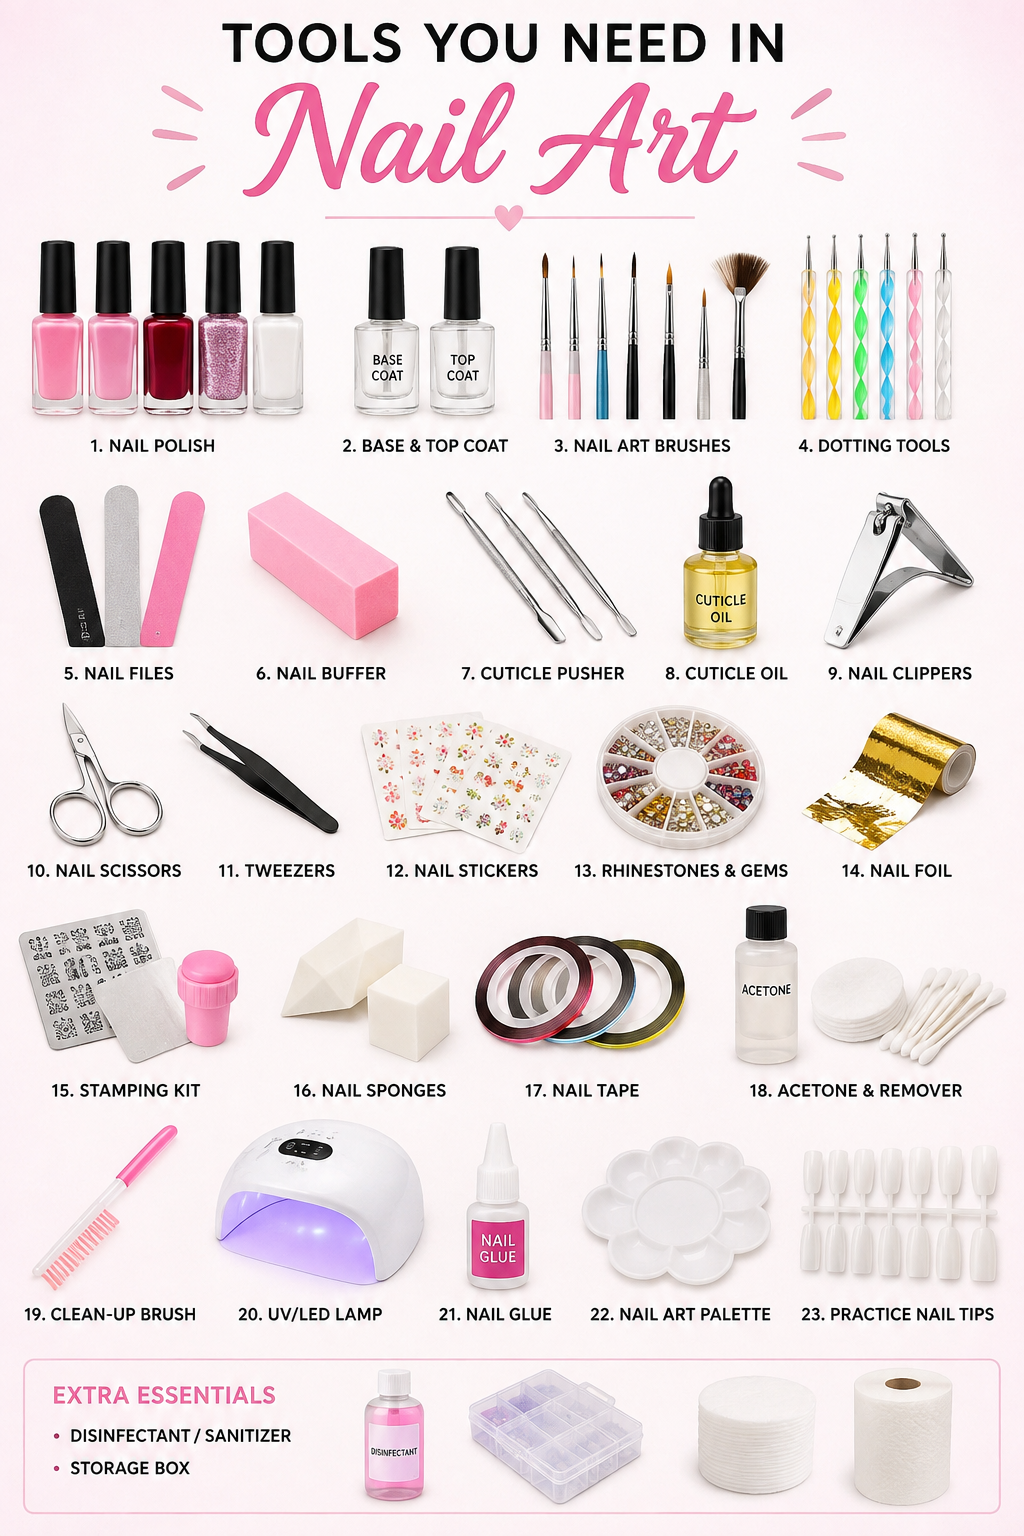
Beautiful nail art is no longer limited to professional salons. With the right tools and a little creativity, anyone can create stunning nail designs from the comfort of home. Whether you enjoy simple French tips, elegant floral patterns, glitter accents, or trendy Korean nail art, having the proper tools makes the process easier and the results more professional.
In this guide, you’ll learn about the essential tools needed for nail art, what each tool does, and how to build your own nail art kit without spending a fortune.
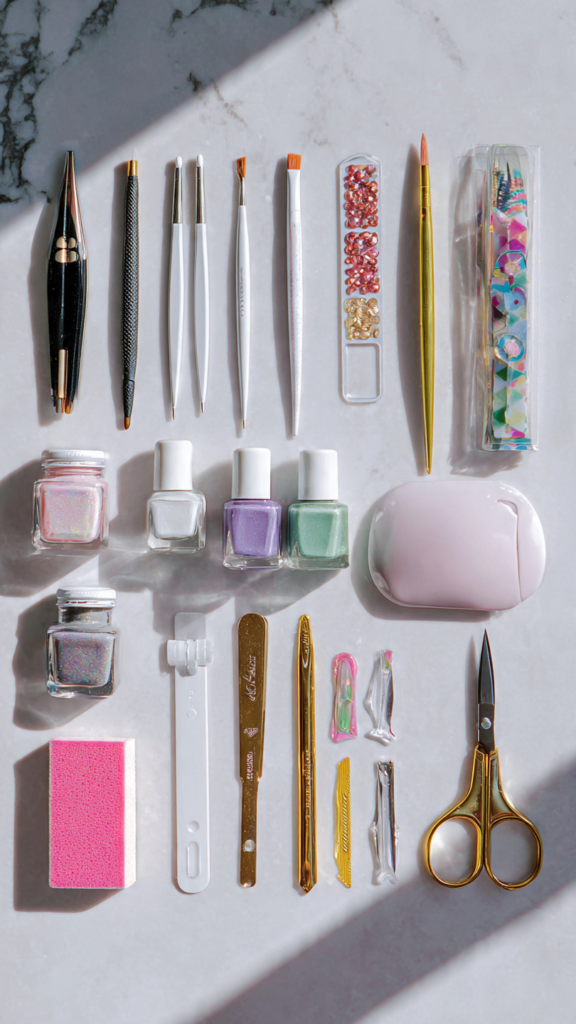
Why the Right Nail Art Tools Matter
Many beginners think that beautiful nail art depends only on artistic skills. In reality, using the proper tools can make a huge difference. Good-quality tools help you:
Create cleaner designs
Save time
Reduce mistakes
Make your manicure last longer
Achieve salon-quality results at home
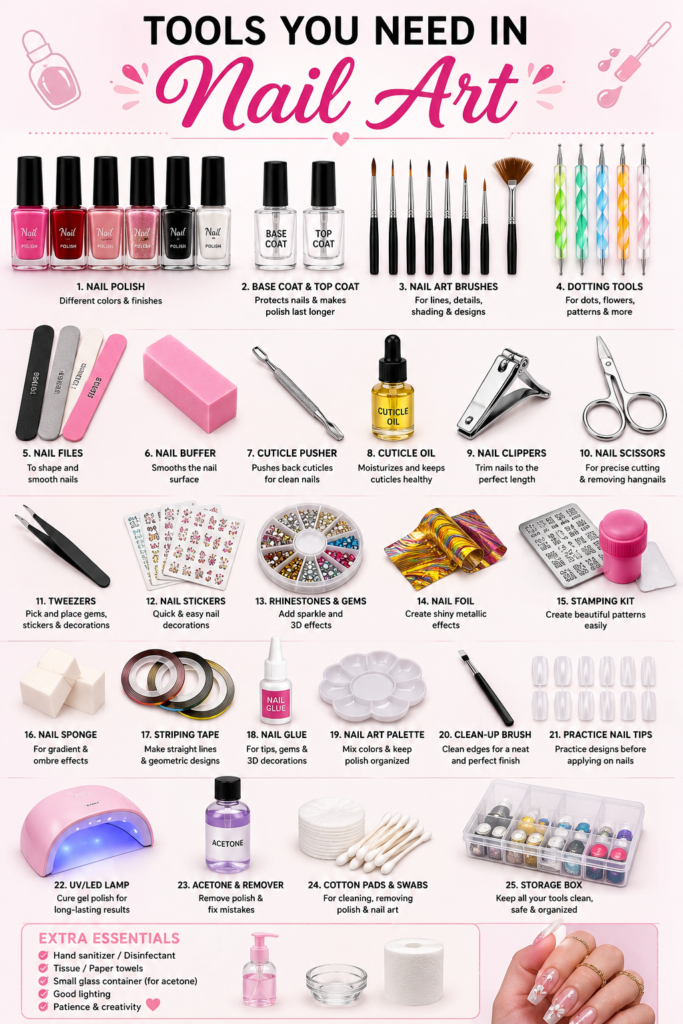
Even a basic nail art kit can produce amazing designs when used correctly.
- Nail Polish
The most important item is nail polish. Every nail art design starts with a good base color.
You should have:
Nude shades
White polish
Black polish
Red polish
Pink shades
Glitter polish
Metallic colors
Matte nail polish
Choose quality nail polish that dries smoothly and provides full coverage in one or two coats.
- Base Coat
A base coat protects your natural nails from staining and creates a smooth surface for polish.
Benefits include:
Better polish adhesion
Longer-lasting manicure
Prevention of nail discoloration
Stronger nails
Never skip this step if you want professional-looking results.
- Top Coat
A top coat seals your design and protects it from chips and scratches.
Types include:
Glossy top coat
Matte top coat
Gel-like top coat
Quick-dry top coat
A good top coat can help your nail art last up to two weeks.
- Nail Art Brushes
Different brushes create different designs.
Common brush types include:
Detail Brush
Perfect for tiny patterns, flowers, and lettering.
Striping Brush
Used for straight lines and geometric designs.
Flat Brush
Ideal for blending colors and gradient effects.
Fan Brush
Great for glitter application and soft texture effects.
Angled Brush
Useful for French tips and sharp designs.
Investing in a brush set provides endless creative possibilities.
- Dotting Tools
Dotting tools have small metal balls on each end.
They help create:
Polka dots
Flowers
Hearts
Animal prints
Cartoon eyes
Mandala designs
Most sets include multiple sizes for different effects.
- Nail Files
Nail files shape your nails before painting.
Popular grits include:
100 grit
180 grit
240 grit
Use finer grits for natural nails and coarser grits for artificial nails.
- Nail Buffer
A nail buffer smooths the nail surface and adds shine.
Benefits include:
Removes ridges
Creates a smooth polish surface
Improves polish adhesion
Avoid over-buffing because it can weaken natural nails.
- Cuticle Pusher
Healthy cuticles make nail art look much cleaner.
A cuticle pusher helps:
Push back cuticles
Clean the nail plate
Prepare nails before polishing
You can choose either stainless steel or wooden cuticle pushers.
- Cuticle Oil
After finishing your manicure, apply cuticle oil.
Benefits include:
Hydrates skin
Prevents dryness
Keeps nails healthy
Improves overall appearance
Use it daily for stronger nails.
- Nail Clippers
Trim nails before filing them into your desired shape.
Different shapes include:
Square
Round
Oval
Almond
Coffin
Stiletto
Choose the style that matches your preference and lifestyle.
- Nail Scissors
Small nail scissors help remove hangnails and trim delicate areas more precisely than clippers.
Always use sharp, clean scissors for the best results.
- Tweezers
Tweezers are essential for placing:
Nail gems
Rhinestones
Sequins
Stickers
Foil pieces
Fine-tip tweezers provide better precision.
- Nail Stickers
Nail stickers are perfect for beginners.
Popular designs include:
Flowers
Butterflies
Hearts
Stars
Marble
Cartoon characters
Seasonal themes
Simply peel, place, and seal with a top coat.
- Rhinestones and Gems
These decorations instantly add glamour.
Available in:
Crystal
Pearl
Gold
Silver
Colored stones
Secure them with nail glue or gel before applying a top coat.
- Nail Foil
Foil creates luxurious metallic effects.
Popular finishes include:
Gold
Silver
Rose gold
Holographic
Rainbow
Marble foil
Foil works beautifully with minimalist nail designs.
- Stamping Kit
A stamping kit helps beginners create detailed artwork easily.
The kit includes:
Stamping plates
Stamper
Scraper
You can make intricate floral, geometric, and seasonal designs within seconds.
- Nail Sponges
Sponges are mainly used for gradient or ombré nails.
They blend two or more polish colors smoothly, creating a professional fade effect.
- Nail Tape
Striping tape helps create perfectly straight lines.
Use it for:
Geometric art
Color blocking
Negative space designs
French manicure guides
Remove the tape carefully while the polish is still slightly wet.
- Acetone and Nail Polish Remover
Mistakes happen during nail art.
Keep these nearby:
Pure acetone
Gentle nail polish remover
Cotton pads
Cotton swabs
These help clean edges and fix small errors.
- Nail Clean-Up Brush
A small angled brush dipped in acetone removes excess polish around the nail.
This simple tool gives your manicure a neat, salon-quality finish.
- UV or LED Nail Lamp
If you use gel polish, you’ll need a curing lamp.
Benefits include:
Faster drying
Stronger finish
Longer-lasting manicure
High-gloss shine
LED lamps cure gel polish more quickly than traditional UV lamps.
- Nail Glue
Nail glue is useful for:
Press-on nails
Rhinestones
Charms
3D decorations
Choose a high-quality glue for a stronger hold.
- Nail Art Palette
Instead of pouring polish directly from the bottle, use a palette.
Benefits include:
Easier color mixing
Less waste
Better brush control
Even a small ceramic tile can serve as a palette.
- Practice Nail Tips
Before working on your own nails, practice on plastic nail tips.
They allow you to:
Learn new techniques
Test color combinations
Improve brush control
Build confidence
Practice is the fastest way to improve your nail art skills.
Tips for Building Your Nail Art Kit
If you’re just starting, you don’t needto buy everything at once. Begin with:
Base coat
Top coat
Five to six nail polish colors
Dotting tools
Brush set
Nail file
Buffer
Cuticle pusher
Nail stickers
Nail polish remover
As your skills improve, gradually add stamping kits, foils, rhinestones, gel polish, and advanced accessories.
Keeping Your Tools Clean
Clean tools last longer and help prevent infections.
Remember to:
Wash brushes after use.
Disinfect metal tools regularly.
Store polish away from direct sunlight.
Keep bottles tightly closed.
Replace worn-out files and buffers.
Proper maintenance keeps your nail art kit in excellent condition.
Conclusion
Creating beautiful nail art starts with having the right tools. From quality nail polish and fine detail brushes to dotting tools, stamping kits, and rhinestones, every item plays a role in achieving stunning designs. Beginners can start with a simple kit and expand it over time as they gain confidence and experience.
With patience, creativity, and the proper tools, you can transform your nails into miniature works of art without visiting a salon. Whether you prefer elegant everyday styles or bold, eye-catching designs, the right nail art tools make every manicure easier, more enjoyable, and more professional.